Trimming Thick Rottweiler Nails
Let's be real, tackling a Rottweiler's nails can feel like a Herculean task. These aren't dainty little claws; they're thick, hard, and often dark, making you dread the possibility of hitting the quick. Many of us have been there, staring at those formidable paws, clippers in hand, feeling a mix of apprehension and guilt because we know how important it is. This guide is here to walk you through the ins and outs of trimming those tough Rottweiler nails, helping you make it a less stressful experience for both you and your big companion.
Understanding Your Rottweiler's Thick Nails
Before you even pick up a tool, it's really helpful to understand why Rottweiler nails are such a challenge. It's not just their size; there's a specific anatomy and purpose behind their robust nature that makes them different from, say, a Poodle's nails.
The Anatomy of a Rottweiler Nail
Imagine trying to cut through a small, dense tree branch with flimsy scissors – that's often what it feels like with Rottweiler nails if you don't have the right equipment. Their nails are incredibly strong and dense, a trait passed down from their ancestors, who were working dogs, driving cattle over rough terrain. These nails needed to be tough to withstand constant wear and tear.
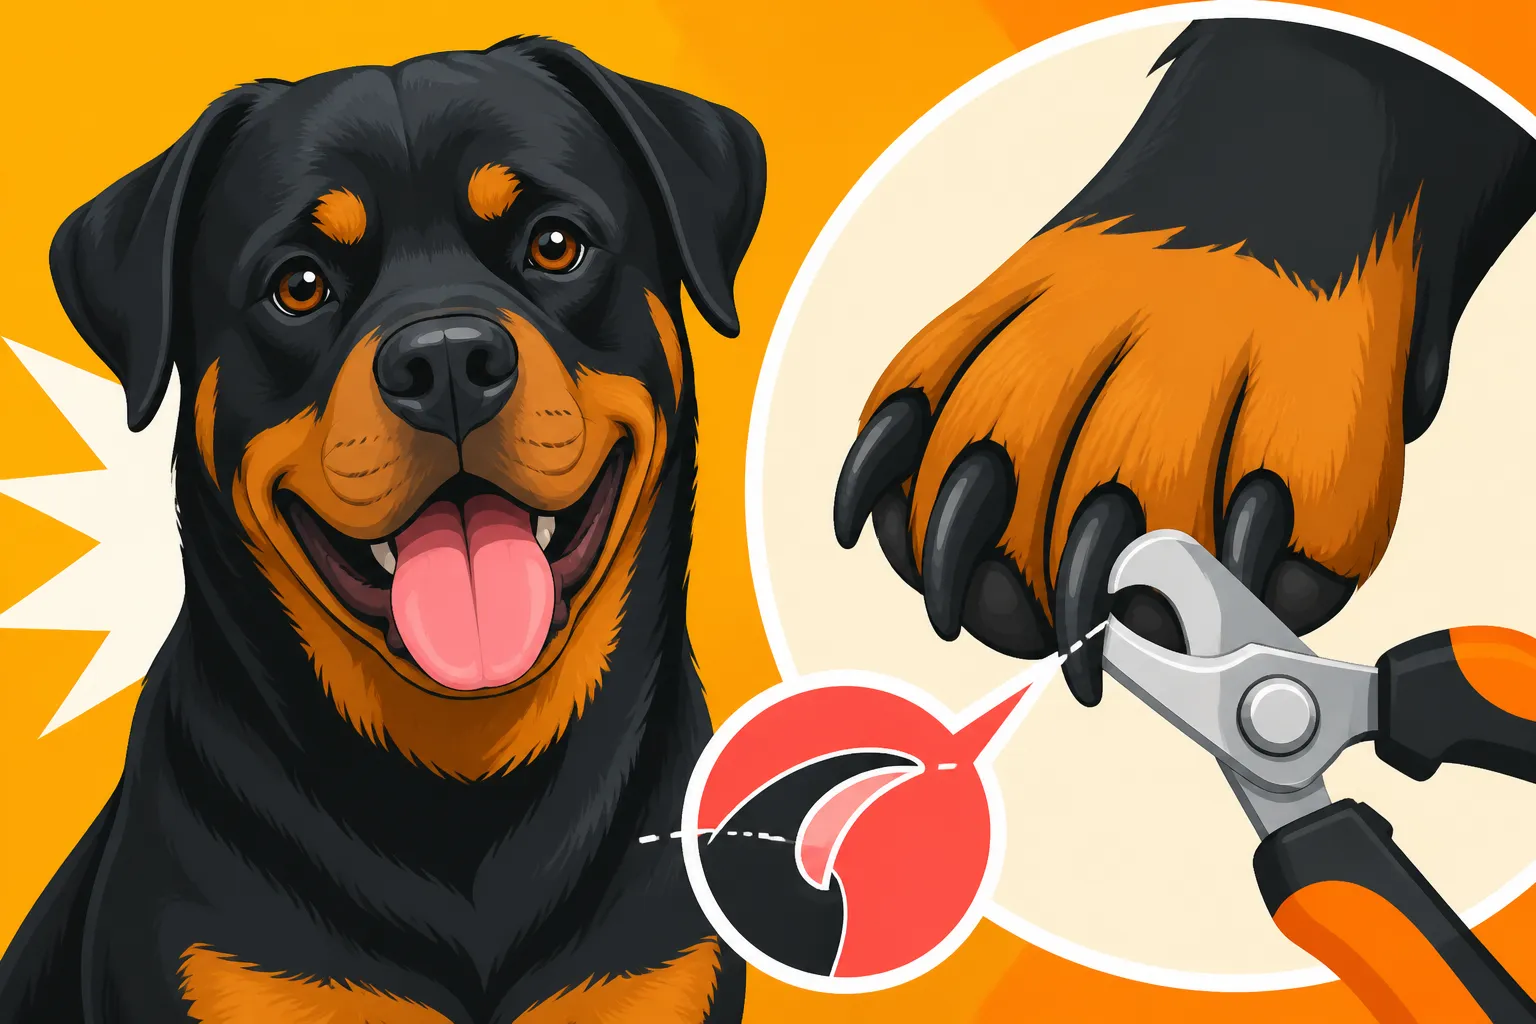
Inside each nail is what's called the "quick." This isn't just a term; it's a living part of the nail, containing blood vessels and nerve endings. On light-colored nails, you can often see the quick as a pinkish area, making it easier to avoid. But with Rottweilers, whose nails are predominantly black or very dark, the quick is almost impossible to distinguish externally. This darkness is precisely why so many owners are nervous about trimming, fearing they'll accidentally cut into this sensitive area, causing pain and bleeding. When a dog is "quicked," it’s painful and can make them very resistant to future nail trims, creating a cycle of fear and avoidance. The longer nails are left, the longer the quick grows, making it even harder to trim safely without incident.
Why Neglecting Nail Trims Is a Big Deal
It might seem like a minor cosmetic issue, but neglecting your Rottweiler's nail health has significant implications for their overall well-being. This isn't just about looking tidy; it's about comfort, mobility, and preventing serious long-term health problems.
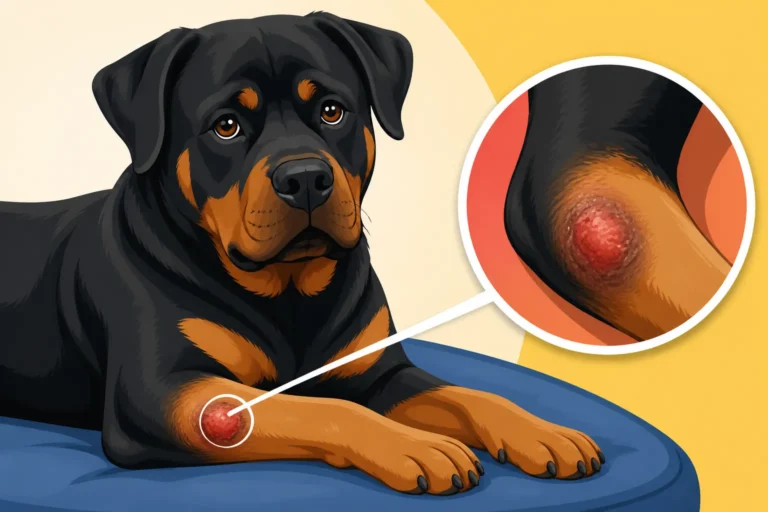
First and foremost, overgrown nails cause immense discomfort. When a Rottweiler's nails get too long, they start to push back into the nail bed and can even curl around to poke into the paw pad. This constant pressure on their toes forces their foot to splay, leading to an unnatural gait. Imagine walking around all day with shoes that are too small and constantly push your toes back – it's painful and exhausting. This can create undue stress on their paw pads, leading to sores, infections, and general reluctance to walk or play.
Beyond immediate discomfort, prolonged overgrown nails can contribute to serious joint issues. A Rottweiler is a heavy dog, and their bone structure, particularly around their hips and elbows, is already under significant load. Long nails force their weight to shift unnaturally, putting extra strain on their joints, especially their toes, ankles, and even their hips. This can exacerbate conditions like Rottweiler Hip Dysplasia and the OFA Grade or Rottweiler Elbow Dysplasia and Front Leg Lameness, or simply contribute to premature arthritis as they age. Every step becomes less stable, and the impact reverberates through their leg structure. For a breed already prone to orthopedic challenges, maintaining proper nail length is a crucial preventative measure. You'll often see dogs with long nails having trouble getting traction on smooth floors, slipping and sliding, which can lead to accidental strains or falls. This is especially true as they get older, and Senior Rottweiler Mobility Decline starts to become a concern, so starting good habits early is key.
Essential Tools for Trimming Thick Rottweiler Nails
You wouldn't try to build a house with a toy hammer, and you shouldn't try to trim a Rottweiler's nails with flimsy clippers. The right tools are half the battle when it comes to making this a manageable task.
Choosing the Right Clippers
Forget those small, plier-style clippers meant for smaller breeds. They simply won't cut it (pun intended!) for a Rottweiler's thick nails, and you'll likely just end up crushing the nail rather than making a clean cut, which is painful for your dog. For Rottweilers, you generally have two main styles of clippers to consider: guillotine and scissor-style.
While guillotine clippers can be effective for some large breeds, many Rottweiler owners and professional groomers find the scissor-style, heavy-duty clippers to be superior for the sheer density and thickness of their nails. These clippers, often resembling pruning shears, provide greater leverage and a cleaner, more decisive cut. Look for brands that specialize in large breed or professional grooming tools. Quality is paramount here; a dull blade will tear and crush the nail, causing discomfort and pain. You want clippers with sharp, strong stainless steel blades that can make a quick, clean cut. Many excellent options are readily available on platforms like Amazon or Chewy, so you can read reviews from other large-breed owners to find a pair that stands up to the task.
Even with the best clippers, maintaining their sharpness is crucial. If you notice them struggling to cut cleanly, it's time for a replacement. Trying to "make do" with dull clippers is a surefire way to make nail trimming a traumatic experience for your Rottweiler.
Dremels and Grinders: The Game Changer
For many Rottweiler owners, especially those with dark-nailed dogs or who struggle with the precision of clippers, a Dremel tool or a dedicated pet nail grinder can be an absolute game-changer. These electric tools use a rotating abrasive bit to grind the nail down, rather than cut it.
The biggest pro of using a grinder is that it allows for much finer control. You can take off tiny bits of nail at a time, slowly getting closer to the quick without the high risk of cutting it directly. This slow approach can help the quick recede over time, allowing you to achieve shorter nails safely. Grinders also leave a much smoother edge, preventing jagged bits that can snag on carpets or scratch you. They're particularly good for desensitizing a dog who is fearful of clippers, as the process is less abrupt. Brands like Dremel offer various attachments, and dedicated pet grinders are often quieter, which can be a huge bonus.
However, grinders aren't without their cons. The noise and vibration can be intimidating for some dogs, requiring a slow and patient introduction. It also takes more time than clipping, as you're grinding rather than cutting. The friction of grinding can also generate heat, so it's essential to use a "touch-and-go" method, grinding for a few seconds and then moving to the next nail to prevent discomfort. But with proper desensitization and technique, a grinder can turn a dreaded chore into a manageable routine.
Quick Stop Powder and Other Supplies
No matter how careful you are, accidents can happen, especially when you're dealing with a large, strong dog and dark nails. That's why styptic powder (often called "quick stop" powder) is an absolute must-have in your nail trimming kit. This powder, usually made of ferric subsulfate, is designed to stop bleeding quickly if you accidentally cut into the quick. Having it within arm's reach before you start will give you peace of mind and allow you to react calmly if an incident occurs.
Beyond the essentials, consider having a few other supplies on hand:
- Plenty of High-Value Treats: Positive reinforcement is key, especially with a breed as intelligent and sensitive as a Rottweiler. Small, tasty treats that your dog absolutely loves will turn nail time into a treat time. Ollie offers fantastic, high-quality options that many dogs adore.
- A Soft Towel or Blanket: This can be useful for wrapping around your dog if they're particularly squirmy, or simply to provide a comforting surface for them to lie on.
- A Bright Light/Headlamp: Even with dark nails, a strong light can sometimes help you identify subtle differences in the nail structure, or at least ensure you have clear visibility of what you're doing.
- A Filing Board or Sandpaper: After clipping, a quick pass with a heavy-duty nail file or coarse sandpaper can smooth out any rough edges, which is especially important if you don't use a Dremel.
Preparation is key, and having all your tools ready before you start will make the process much smoother and less stressful for everyone involved.
Step-by-Step Guide to a Stress-Free Trim (Well, Less Stressful)
The goal isn't necessarily to make nail trimming fun, but rather to make it tolerable and routine. With a Rottweiler, consistency and patience are your best friends.
Desensitization and Positive Reinforcement
This is, without a doubt, the most critical step, especially if you have a puppy or an adult Rottweiler who is already apprehensive about nail trims. You need to create a positive association, not a battle.
Start early. If you have a Rottweiler puppy, begin handling their paws frequently from day one. Gently touch their toes, rub their pads, and tap their nails (without clippers) multiple times a day. Pair this with cheerful praise and delicious treats. The goal is for them to see having their feet handled as a normal, pleasant experience. This early work will pay dividends when they're a massive adult. You can refer to Rottweiler Puppy Training Through the First Year for more ideas on establishing good habits.
For an adult dog who's already wary, you need to go even slower. Start by simply showing them the clippers or Dremel, letting them sniff it, and immediately giving a treat. Don't even turn it on yet. Repeat this many times over days or even weeks. Then, turn the Dremel on briefly in another room so they hear the sound from a distance, again followed by treats. Gradually bring the sound closer. When they're comfortable with the sound, touch the off tool to their paws, then treats. Finally, touch the on tool (briefly!) to a nail, then treats. Break it down into tiny, non-threatening steps. Keep sessions very short – literally just a few seconds – and always end on a positive note. Never force the issue or hold them down, as this will only increase their fear and make future attempts harder.
The Trimming Process for Clippers
Once your Rottweiler is comfortable with their paws being handled and the tools, you can begin the actual trimming.
- Positioning: Find a comfortable position for both of you. Many Rottweilers do best lying on their side (often called a "down-stay"), with you kneeling beside them. If your dog is comfortable, you might stand and have them stand as well, offering support with your body. Some dogs are okay on a grooming table if you have one, but for a large Rottweiler, the floor is often safest. Offer a chew toy or a lick mat spread with something delicious to distract them if needed.
- Hold the Paw: Gently but firmly hold one paw. Use your thumb to push down on the top of the toe and your forefinger to push up on the pad underneath. This extends the nail and isolates it, making it easier to see and preventing hair from getting in the way.
- Identify the Quick (or Estimate): This is the tricky part with dark nails. You can't see the pink quick. Instead, look at the underside of the nail. As you trim, you'll typically see a solid, shiny black outer layer. As you get closer to the quick, the center of the cut nail might start to show a lighter, chalky-white or gray-pinkish dot. Stop immediately if you see this, as the quick is very close. If you see a tiny black dot in the center, you're usually okay, but proceed with extreme caution. It's always better to take off too little than too much.
- Small, Frequent Cuts: Instead of trying to take off a large section, aim for tiny snips. Take off just the tip, then another tiny bit if you feel safe. Think of it like peeling an apple; you're taking off thin layers. This method significantly reduces the risk of quicking and allows the quick to recede over time. Don't forget the dewclaws (the thumb-like nails on the inside of their legs), which don't touch the ground and therefore don't wear down naturally, making them prone to growing into the leg.
Here's a simple table to help visualize what you're looking for with dark nails:
| What You See on Cut Surface | What It Means | Action |
|---|---|---|
| Solid black/dark | Still within the insensitive outer nail. | Can continue trimming small amounts. |
| Chalky white/gray dot | Approaching the quick. | Stop or trim very, very sparingly from this point. |
| Pinkish dot | You've hit or are extremely close to the quick. | Stop immediately. |
| Bleeding | You've quicked the dog. | Apply styptic powder. |
The Grinding Process with a Dremel
Using a Dremel or grinder requires a slightly different technique but often yields a more comfortable experience for the dog and a more precise result.
- Preparation: Ensure your dog is desensitized to the sound and vibration. Make sure the Dremel is fully charged if it's cordless.
- Hold the Paw Firmly: Similar to clipping, hold the paw to extend the nail. You'll want to gently push back any fur around the nail to prevent it from getting caught in the rotating bit.
- Touch-and-Go Grinding: Instead of holding the grinder on the nail, use a "touch-and-go" method. Touch the grinder to the very tip of the nail for 1-2 seconds, then lift. Repeat this, working around the sides and tip of the nail. This prevents heat buildup from friction, which can be uncomfortable.
- Angle for Shortness: You want to grind the nail until it's short and slightly rounded, mimicking the natural shape of a worn nail. Angle the grinder slightly upwards from the bottom of the nail to create a smooth, comfortable finish. On dark nails, the quick will appear as a small, dark dot in the center of the lighter "pulp" as you get very close. Just like with clippers, stop if you see this.
- Be Patient: Grinding takes longer than clipping, especially if your Rottweiler has very thick nails or long quicks. Don't rush. If your dog starts to get antsy, take a break, offer a treat, and come back to it. You might only get a couple of nails done in one session, and that's perfectly okay. The goal is a positive association.
Remember, consistency is key. Regular, even weekly, short grinding sessions are far more effective at keeping nails short and encouraging the quick to recede than infrequent, stressful clipping sessions.
Common Challenges and Troubleshooting
Let's face it, even with the best intentions and tools, there will be hurdles. Rottweilers are smart and strong, and if they decide they don't like something, they'll let you know.
Dealing with Fear and Resistance
A Rottweiler who is genuinely afraid of nail trims can be a formidable challenge. They might pull away, whine, growl, or even try to snap. This isn't usually aggression; it's fear. Punishing them for this fear will only make it worse.
- Patience and Persistence: This cannot be stressed enough. It might take weeks or months to build trust and comfort around nail trims. Don't give up.
- Go Back to Basics: If your dog is showing significant resistance, stop trying to trim. Go back to the desensitization steps: just touching paws, showing tools, sound exposure, all paired with high-value treats and praise. Work in tiny increments.
- Professional Help: If you're truly struggling, don't hesitate to seek help from a professional groomer, your veterinarian, or a certified dog trainer. They have experience with resistant dogs and can offer hands-on guidance or even perform the trims themselves while you learn. Some vets might suggest sedation for extremely anxious dogs, but this should be a last resort.
- Muzzle Training: For safety, if your Rottweiler has shown any signs of snapping or biting, introduce muzzle training. This isn't a punishment; it's a safety tool that allows you to work with your dog without fear of injury, which in turn can make you calmer and more effective. A well-fitted muzzle, introduced positively, can be invaluable. Muzzle Training a Rottweiler Before You Need It offers excellent guidance on this.
The Dreaded "Quicking" Incident
It happens. Even the most careful owners quick their dog occasionally, especially with those dark Rottweiler nails. Your reaction in that moment is crucial.
First, stay calm. Seeing blood can be startling, but panicking will only distress your dog further. Immediately grab your styptic powder.
- Apply Powder: Take a pinch of styptic powder and firmly press it onto the bleeding nail. You might need to hold it there for a minute or two. The pressure helps it work.
- Reassure Your Dog: Once the bleeding is stopped, comfort your Rottweiler. Speak in a soothing voice, offer lots of praise, and a high-value treat. Don't continue trimming that paw, or even other paws, right away if your dog is clearly upset. End the session on a good note if possible, perhaps by gently touching a different paw and immediately giving a treat, then calling it a day.
- Learn from It: Take a mental note of how much you trimmed, and resolve to take off even less next time. The emotional fallout from quicking can set back your progress significantly, making the dog fearful again. Rebuilding trust takes time and consistency.
Overgrown Nails and Receding the Quick
If your Rottweiler's nails are already very long, the quick will have grown out with them. This is a common problem because owners avoid trimming due to fear, which then makes the problem worse. The good news is, you can encourage the quick to recede.
The key here is frequent, tiny trims or grinding sessions. Instead of trying to get the nails perfectly short in one go, commit to trimming or grinding a tiny amount off every few days, or at least once a week. Each time you trim, you're taking off just the dead tip of the nail. The quick, sensing it's no longer covered by the nail, will slowly start to recede back into the nail bed.
This process can take weeks or even months, depending on how overgrown the nails are. It requires dedication and consistency. However, the reward is healthier, shorter nails that improve your Rottweiler's comfort and gait, reducing the risk of long-term joint problems. This commitment to consistent care ties into the broader theme of The Health Records Worth Keeping on a Rottweiler and understanding how daily care impacts their long-term well-being.
Ultimately, trimming your Rottweiler's thick, dark nails is a necessary act of care that contributes significantly to their overall health and happiness. It may feel daunting at first, but with the right tools, a clear understanding of the process, and a generous dose of patience and positive reinforcement, you can master this important task. Your Rottweiler relies on you for their well-being, and keeping those paws healthy is a big part of that.
Disclaimer
This article is for general informational purposes only and does not constitute professional advice. Laws, prices and regulations vary by location and change over time. Consult a qualified professional for guidance on your specific situation.